


How to convert Premiere Pro Beta to regular the official version, uninstall the beta and then download and install it from the Adobe website. This guide will walk you through the steps in detail so that your journey can be as smooth as possible.
How to Get the Full Version of Adobe Editing Software from Premiere Pro Beta The Ultimate Guide to Migrating from Beta to Stable Release
Are you tired of your editing game so far? Follow our ultimate guide to convert Premiere Pro Beta to the regular version for a seamless transition and unlock all necessary full features!
Premiere Pro Beta: A Sweet Introduction (How to Convert Premiere Pro Beta to Regular)
Adobe Premiere Pro Beta is the beta variant of Adobe’s flagship movie-enhancing software, which already enjoys a trusted position among expert videographers around the globe. This gives users access to features and tools before they make it into the regular version of Click Up so we can test them, use them in real-time, and provide feedback! Adobe needs this beta program to debug issues that could arise and establish a smoother experience for all users when new features are released officially.
What is Premiere Pro Beta?
The current beta version of Premiere Pro provides the ground for new functionalities to grow. The better approach for users who choose to join the beta program would be to act fast, get hands-on with new features, and share feedback that will make things even better. This iterative process enables Adobe to enhance the software using real-world use cases and user feedback. That’s because the beta version is updated more frequently than Adobe Crossword, which is what you’d expect from an app in active development.
Premiere Pro Beta features and benefits:
Some of the benefits users get from Premiere Pro Beta include:
- Early Access: As a user, you experience new features and tools before they are released in the standard version.
- Opportunity for feedback: When users provide direct feedback, Adobe can make the software more user-friendly and efficient.
- Advanced Tools: You will also often see advanced tools and features that were not available in the regular version (describe).
- Becoming engaged with a community: By joining the beta program, you are joining a team of dedicated enthusiasts who believe in video editing and want to help define the direction of this software.
There are a few differences between the regular version and Premiere Pro Beta:
Stability and feature completeness are the main points of distinction between beta builds and their counterparts. Although the beta version allows users to try new features offered by a service, since these functionalities are often in their early stages, they may need to be more stable. The standard version is quite different, where a fuller set of features are put through their paces, so usability and general editing performance can be assured.
Overall Differences in Interface and Functionality

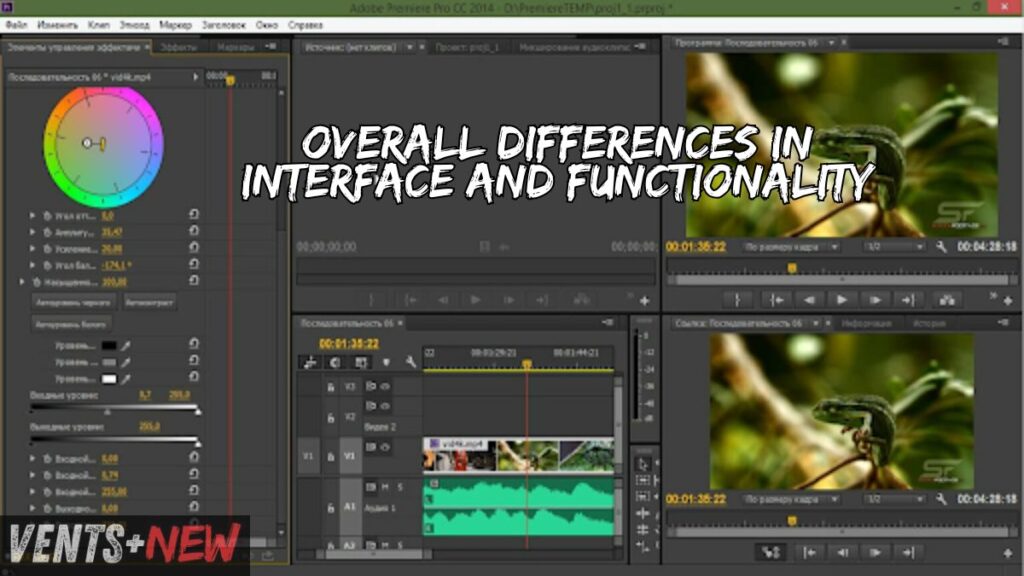
- Interface: The beta version can include updated or changed interface elements to reflect ongoing changes and enhancements. Changes made to these elements could be polished for user feedback before being rolled out in the stable release.
- Functionality: Some features in a beta are experimental and may be pulled or updated. Those features were added to collect user feedback, and we will change them or remove them in the final released version with those inputs.
Compatibility Issues and Limitations:
This is not always easy, and there can be compatibility issues with using Premiere Pro Beta. The beta version may not support some of the third-party plugins and extensions supported by a regular release because it is still in the testing phase. Projects created or edited in the beta will likely self-destruct when opened in the regular version because they are based on different features and file handling.
Why you should want to convert Premiere Pro Beta to Normal
Consider converting from Premiere Pro Beta to the regular version for many reasons, especially if you’re not interested in always playing with new features that may not be ready for prime time yet.
Issues of Stability and Reliability:
Stability is perhaps the most outstanding reason to switch to regular. The first is the verified version, which has to go through much testing but not as much. This is essential for professional editors who require consistent performance and cannot afford software crashes or bugs that cause costly downtime.
Need for Full Feature Set and Support:
Regular Premiere Pro offers complete coverage of all rigorously tested and optimized features. It also grants users access to Adobe’s help desk and a bounty of online resources, guaranteeing the necessary support whenever needed.
Also Read:- TechVybes.com Computer: What is it?
Convert Premiere Pro Beta to Regular
Moving from the beta to full Premiere Pro requires a few steps, so your projects and preferences will not be lost.
Backup Projects and Preferences:
Before doing so, however, it is essential to back up all your current projects and settings. These secure your data during the transition process to prevent you from losing valuable work. Keep your project files (like the ones above) in a safe location on disk and export any preferences if you’ve set up specific defaults.
Uninstalling Premiere Pro Beta:
To uninstall the beta version, go to your system control panel (Windows) or applications folder (Mac) and find Adobe Premiere Pro Beta. Uninstall will start, just like with any other program you are removing entirely. Be sure to delete all remaining files, as doing so would make it difficult to install a regular version.
Regular Version: Download and Installation
1 Go to the official Adobe site and download the current regular version of Premiere Pro. Download and install the software on your computer, following the installation instructions. It needs a stable internet connection and a little storage on your device.
Projects and settings being imported:
After installing the non-rap version, import saved projects and preferences. Launch Premiere Pro and open the Preferences menu to import your custom settings. This task helps keep your process consistent and allows you to work in peace.
Tips for a Smooth Transition
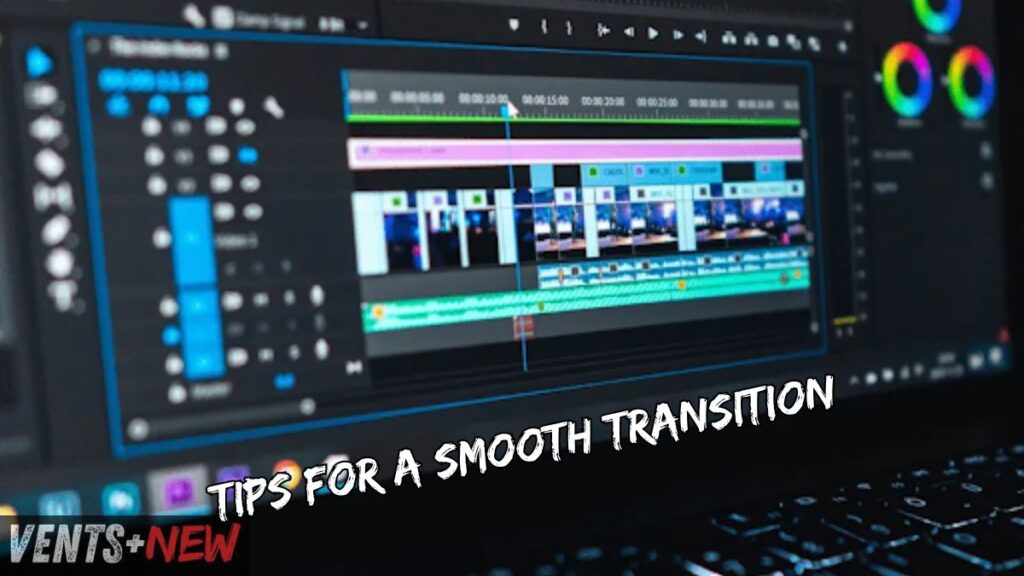
Follow these tips to ensure a smooth transition between the beta version and the full release.
Assessing Project Compatibility:
Before converting, make sure your projects are compatible with the regular version. This means that some of the features or effects you used in the beta version will not be available in the regular version. Also, make sure you can open your projects in the normal version and that everything works fine.
Using Adobe Creative Cloud Features
Use Adobe Creative Cloud’s offers, such as cloud storage and syncing, to create a backup of your projects and settings. This provides added security and prevents your work from being lost during the transition.
Optimal Settings: Configuration with Customization:
Set the usual version up after downloading and adjust the settings to suit your system. This will allow for maximum performance that reflects your audio-related hardware. Configure memory usage, GPU acceleration, and other settings to keep your editing experience smooth.
Issues on Conversion that are Common and Their Troubleshooting:
(Tourist Duration) and prepare best to suit more, but you will come across a few problems after conversion while we do a text classification in real life. Common issues and their fixes:
Some Examples of Error Messages and the Ways to Deal with Them
If you encounter errors that prevent you from opening projects or using some features, refer to the Adobe support documents in their forums. Updating drivers, reinstalling plugins, or adjusting settings can fix many common problems.
Missing plugin/preset issue
If you find certain plugins or presets gone missing after the conversion, reinstall them from scratch or look for alternatives compatible with that regular edition. You just need to download the new versions from their official pages, and that is all; they should be compatible.
Preferences and Workspace Reconfiguration:
After importing your settings, some preferences and workspace layouts may need to be re-configured manually. Make personalized changes to the user experience that you enjoy and provide a satisfying editing environment.
Final Review and Quality Assurance:
After finishing the conversion, perform last-minute checks to verify everything is working.
Functionality and Stability Testing:
Make sure each of the primary functions and tools continues working correctly. Also, mark the custom effects or settings you often use.
Maintaining the Integrity and Compatibility of Your Project
Continue as you normally would, opening up your existing projects to test that they are unchanged and backward compatible. Check for missing media, effects, or transitions and resolve those issues.
Necessary Changes After Conversion
Once everything is in working order, adjust your projects and settings as needed. For example, this may mean tweaking effects or durations on timelines, but it could also mean reapplying some presets.
Follow these steps and rules to successfully convert Premiere Pro Beta to the non-beta version so you won’t face any problems. This detailed guide offers you all the information required to switch over with confidence, allowing you to utilize Adobe Premiere Pro, which provides ample editing power.
Conclusion:
You are better off switching to the regular version of Premiere Pro to take advantage of all its stability and features. The beta shows only a portion of the upcoming functions; this is not enough for professional work and shows why you need regular versions. This how-to guide will enable you to make the transition smooth and interruption-free for your ongoing projects.
To sum things up, the process was specially created for people willing to delineate Premiere Pro Beta Ready-to-Go for smooth and A-one-supported editing. The most appealing reason for this transition is that it unlocks access to all fully developed features, along with third-party plugin compatibility and stable performance. Over the next few steps, we will show you how to easily migrate and take advantage of this industry-leading software by Adobe.
FAQ’s
Do I need to switch from Premiere Pro Beta back to regular?
Going from Premiere Beta to regular means you will not face issues while working on a project. The standard version is thoroughly tested and supported, which means you will have access to all the finalized features, a more stable experience, and better compatibility with plugins or other third-party tools.
Will I lose my projects when I uninstall Premiere Pro Beta?
Remove and delete project files safely, and export your preferences to import them back into the non-GUI version.
How to Backup My Settings and Preferences Before Conversion
Preferences menu WithinPremiere Pro Beta, to back up your settings and preferences, export them from the Preferences Menu. You can even save these files to your Google Drive or some other place and import them regularly after installation.
Are there any incompatibilities in moving projects from beta to stable?
Some compatibility issues may exist due to feature sets and file handling differences. When you import projects into the full version, it is important to verify that there are no missing media, effects, or transitions and make adjustments accordingly.
How do I handle any errors that may come up while converting?
If you encounter any issues during the conversion process, refer to Adobe support documents or community-based forums for fixes. The problems you face are almost always solvable by updating your drivers, reinstalling any plugins, or modifying some settings.


